How to Apply Clear Coat Rescue
Clear Coat Rescue™ Hot and Cold
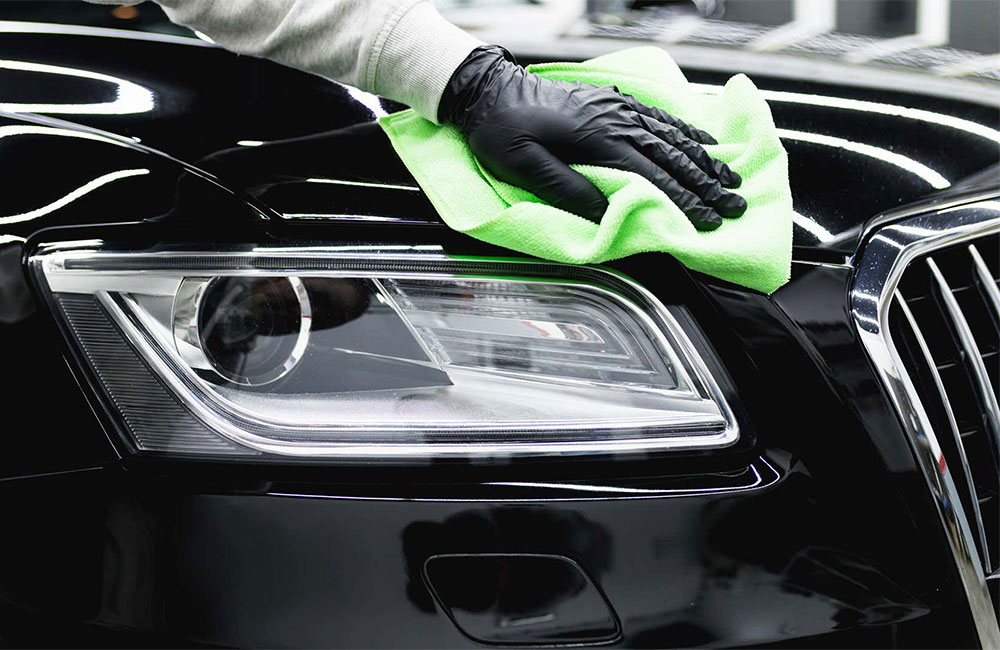
1. Clean desired areas with soap and water. Then spray and clean with Clear Coat Detox™, and dry the surface. Then spray and clean with PrepPerfect™ to ensure the area is free of dirt and grease. Use a lint-free cloth.
2. Shake the container to ensure the solution is well mixed.
3. Spray the applicator with SLO MO™ until damp. This will improve the flow of Clear Coat Rescue™ onto the panel.
How to Apply Clear Coat Rescue™
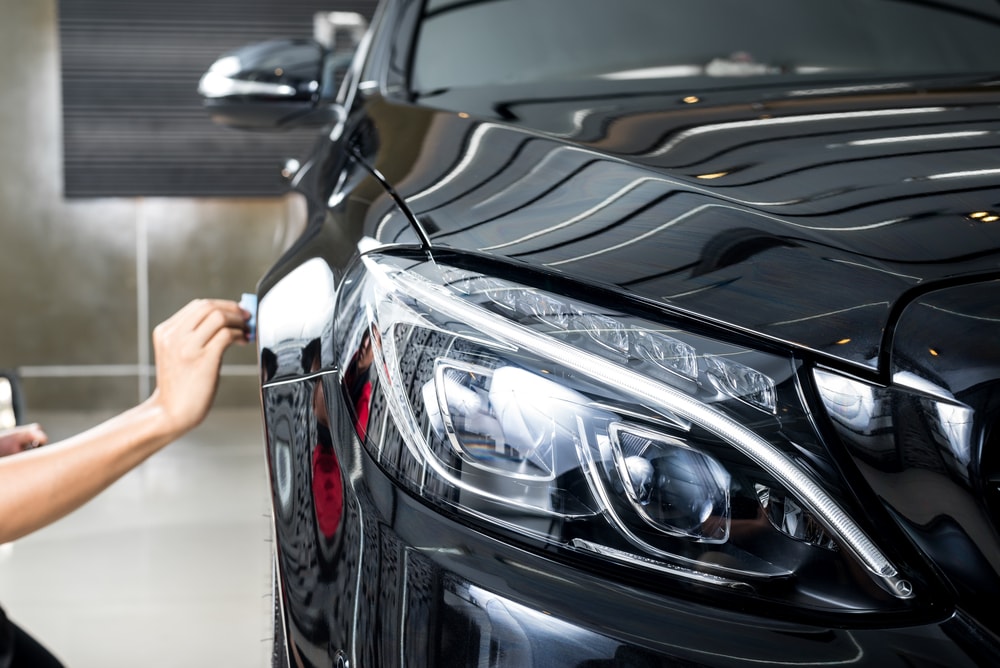
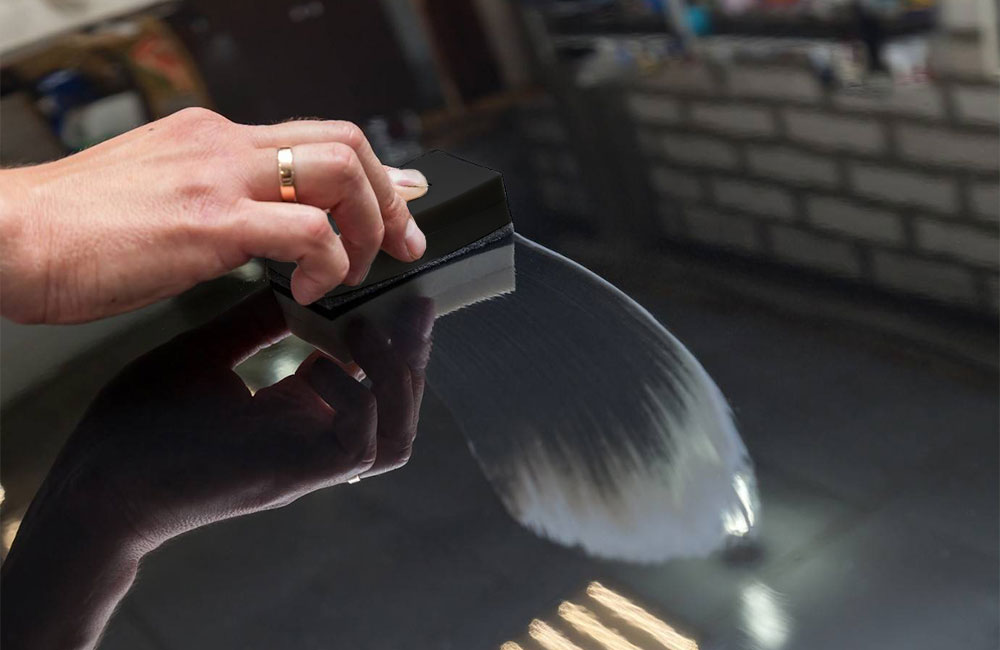
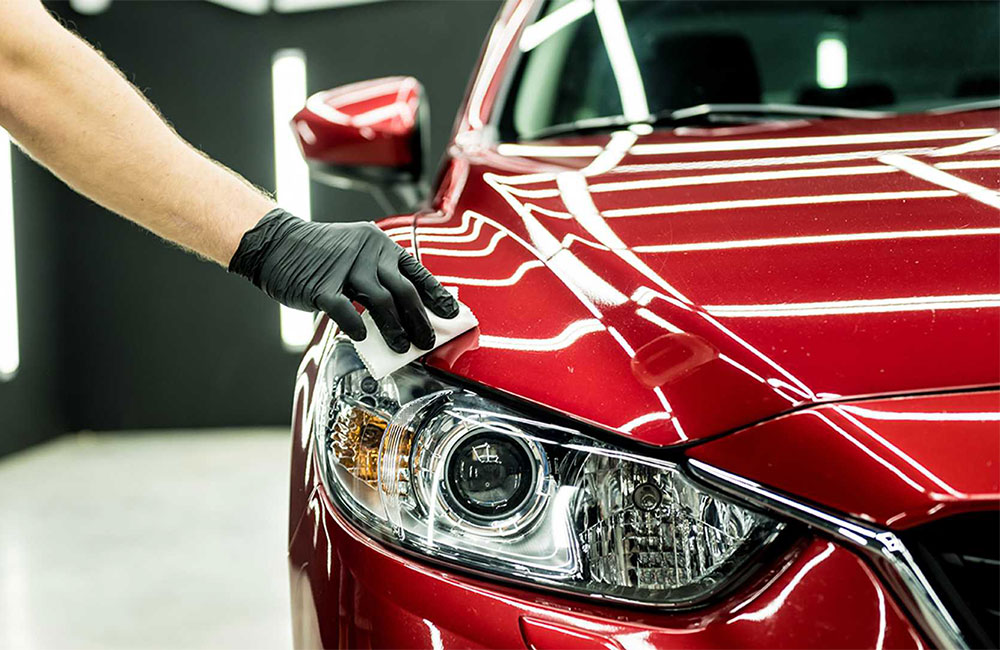
1. Apply Clear Coat Rescue™ solution to the applicator.
2. Gently rub the applicator, starting at the center of the panel, then work the panel in an up-and-down pattern. Go from body line to body line. If adjacent panels are dull or oxidized, repeat the process on those panels to ensure a uniform repair.
3. Allow Clear Coat Rescue™ to cure for 2–3 hours.
How to Apply Trim Rescue™
1. Clean desired areas with Clear Coat Detox™, followed by PrepPerfect™. Use lint-free microfiber cloths.
2. Apply Trim Rescue™ to a fresh or unused applicator.
3. Wipe Trim Rescue™ onto desired areas; allow the plastic to absorb Trim Rescue™ for one to two minutes.
4. Wipe away any excess product. Avoid leaving Trim Rescue™ on longer than necessary.
5. Clean painted surfaces where Trim Rescue™ may have contacted with PrepPerfect™.
6. With your gloved hand, hold all towels and applicators. Pull the glove over and off, trapping used supplies, then dispose of them.
*Note: Apply to dry areas only!
Always remove excess product from painted and plastic surfaces!
Warning! Do not pile or store used and saturated towels. Wash them immediately with soap and water, or allow them to dry unfolded and un-layered in an open area.


